No-Fry Crispy Dry Rub Wings: The Ultimate Oven-Baked Recipe
When the craving for irresistible chicken wings strikes, but the thought of messy deep-frying dampens your spirits, what's a culinary enthusiast to do? Enter the game-changing solution: No-Fry Crispy Dry Rub Wings. Imagine succulent chicken wings, boasting a gloriously golden, audibly crispy skin, infused with a symphony of smoky-sweet spices – all achieved in the humble confines of your oven. This isn't just a workaround; it's a revelation, proving that you can achieve truly amazing dry rub wings without a single drop of excess oil or the hassle of deep-frying. Forget takeout and store-bought alternatives. This recipe is your ticket to homemade perfection, offering all the satisfying crunch and robust flavor you desire, with a preparation so simple it feels like a cheat code. Perfect for game days, bustling parties, casual family dinners, or simply satisfying that personal wing craving, these oven-baked beauties are set to become your new favorite go-to. Prepare to witness them disappear in minutes, leaving only happy smiles and perhaps a few spice-dusted fingertips.Why Oven-Baked Dry Rub Wings Are a Game-Changer
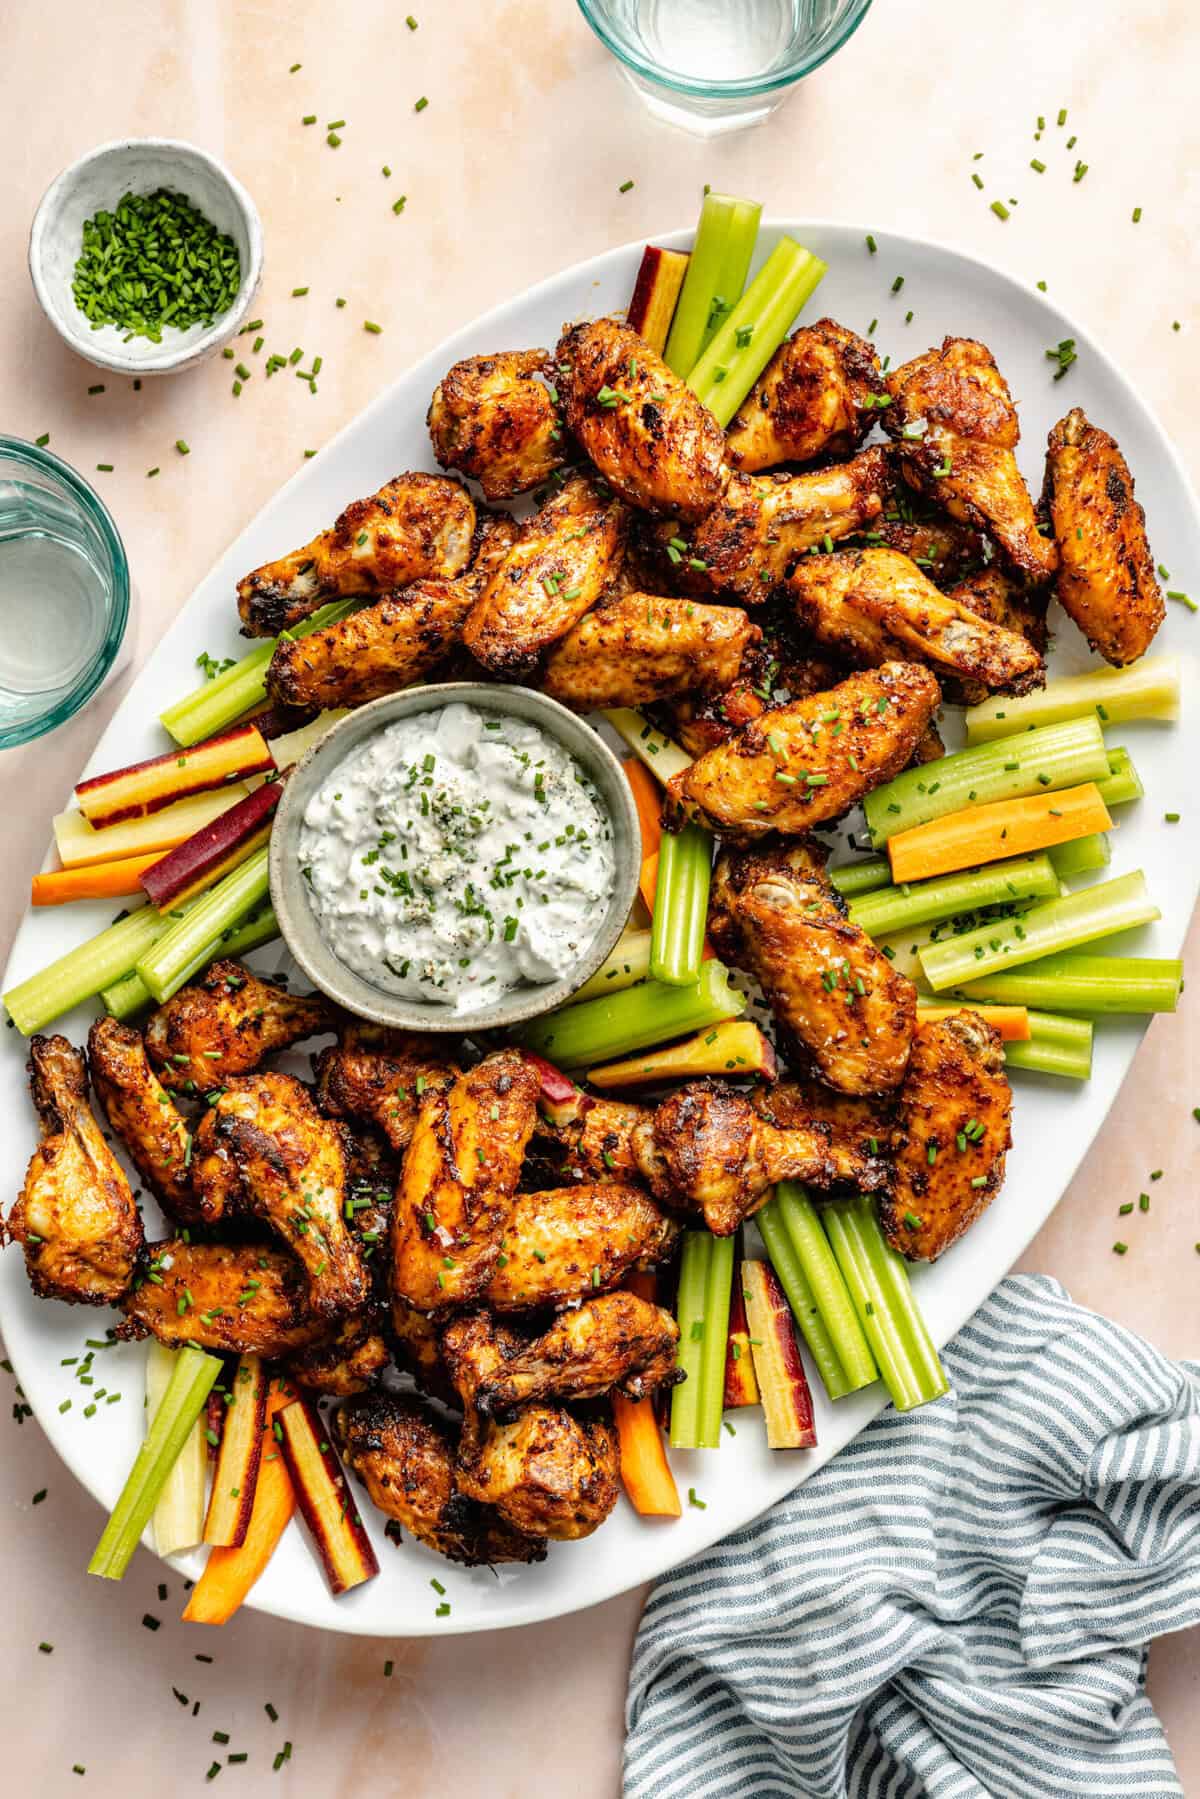
The allure of crispy chicken wings is universal, but the traditional deep-fried method often comes with drawbacks: the splattering oil, the lingering smell, and the heavier calorie count. This oven-baked approach deftly sidesteps these issues while delivering an unparalleled taste and texture experience. Here’s why these amazing dry rub wings stand out: * No Frying Required: The most obvious benefit is the absence of a deep fryer. Baking offers a lighter, less messy, and significantly healthier way to cook wings, reducing fat content without sacrificing flavor or crunch. * Incredible Flavor Infusion: Unlike sauced wings where flavor often sits on the surface, a well-crafted dry rub penetrates the skin, infusing the meat with a complex, smoky, slightly sweet, and savory punch in every bite. The oven heat then caramelizes these spices, locking in depth and creating an irresistible crust. * Effortless Preparation: This recipe simplifies the cooking process dramatically. It’s a straightforward "toss, bake, flip, and done" approach that even novice cooks can master. No constant monitoring of oil temperature, no elaborate cleanup post-frying. * Perfectly Crispy Texture: Through a clever combination of drying, strategic coating, and high-heat baking, these wings develop a golden, shatteringly crisp exterior that rivals their fried counterparts. You'll be amazed at the crunch! * Remarkably Versatile: Enjoy them as a standalone snack, pair them with your favorite creamy ranch or bold blue cheese dip, or serve them alongside fresh veggie sticks for a balanced appetizer spread. Their inherent deliciousness makes them suitable for any occasion. The journey to creating truly amazing dry rub wings from your oven is not just about avoiding the fryer; it's about embracing a method that enhances the wing experience, focusing on purity of flavor and satisfying crispness.The Secret to Truly Crispy, No-Fry Wings
Achieving that coveted crunch without deep-frying might seem like magic, but it's actually down to a few fundamental techniques. Mastering these steps will ensure your oven-baked wings are consistently golden and crispy, every single time: * The Dryness Factor: This is arguably the most critical step. Moisture is the arch-nemesis of crispiness. Before applying any rub, rigorously pat your chicken wings bone-dry with paper towels. You want them as parched as possible. This allows the skin to render fat and crisp up beautifully, rather than steam. * The All-Purpose Flour (or Starch) Coating: A light dusting of all-purpose flour (or for an even crispier result, consider substituting some with cornstarch or rice flour) creates a thin, porous layer that helps absorb moisture, provides structure, and contributes to that desirable crunchy crust. As the wings bake, this coating browns and crisps, forming a delicious exterior. * Strategic Arrangement: Overcrowding your baking sheet is a common mistake. When wings are too close together, they release moisture, creating steam. This steam prevents the skin from crisping and can lead to soggy results. Always arrange your coated wings in a single layer, ensuring adequate space between each piece for hot air to circulate freely. For an added boost of crispiness and even cooking, consider placing them on a wire rack set over a parchment-lined baking sheet. * The Oil Mist: A light spritz of olive oil spray (or any cooking oil spray) is essential. This helps to evenly distribute a thin layer of fat, promoting browning and contributing significantly to the final crispness. It acts as a conductor for heat, ensuring the skin gets golden and delicious. * High Heat & The Flip: Baking at a sufficiently high temperature ensures the skin quickly crisps. The initial bake starts the process, but the mid-bake flip is crucial. Flipping the wings ensures both sides have direct contact with the hot air, allowing them to crisp up evenly and achieve that all-around golden perfection. Don't be shy – make sure every wing gets turned! By meticulously following these principles, you're not just baking wings; you're engineering amazing dry rub wings that deliver on every promise of crispiness and flavor, rivaling any restaurant offering.Crafting Your Amazing Dry Rub Wings: Ingredients & The Perfect Blend
The heart of these no-fry wings lies in their simple yet profoundly flavorful dry rub. This blend transforms ordinary chicken into an extraordinary culinary experience. Here’s a breakdown of what you’ll need and why each component plays a vital role: * Chicken Wings (2 pounds): Opt for pre-cut drummettes and flats for convenience, or purchase whole wings and separate them yourself. Fresh, quality chicken is key to the best flavor. * All-Purpose Flour (⅓ to ½ cup): This is your primary crisping agent. As discussed, it forms a light coating that helps create that desirable crust. Ensure you have enough to fully coat every piece of chicken. * The Smoky-Sweet Spice Blend: This carefully balanced mixture is what makes these wings truly amazing dry rub wings. * Brown Sugar (2 teaspoons): Provides a touch of sweetness that balances the savory spices and aids in caramelization, giving the wings a beautiful golden hue and irresistible sticky-sweet notes. * Smoked Paprika (1 teaspoon): This is a star ingredient, delivering a deep, earthy smokiness that's reminiscent of barbecue, along with a vibrant color. * Chili Powder (1 teaspoon): Adds warmth, a mild kick, and a complex savory depth without overpowering the other flavors. * Garlic Powder (½ teaspoon): A foundational aromatic that adds a savory, pungent undertone. * Onion Powder (½ teaspoon): Complements the garlic, offering another layer of essential savory flavor. * Salt and Black Pepper (to taste): Essential for seasoning, enhancing all the other flavors, and ensuring the wings aren't bland. This harmonious blend is designed for maximum impact. However, don't shy away from personalization. For those who love a bit more heat, a pinch of cayenne pepper can be a fantastic addition. Experiment with a touch of cumin for earthiness or a hint of mustard powder for a tangy note. Customizing your dry rub is part of the fun in creating your very own signature Homemade Smoky-Sweet Dry Rub Wings: Oven-Baked & Crispy.Step-by-Step Guide to Oven-Baked Perfection
Ready to transform your kitchen into a wing-making haven? Follow these easy steps to craft your ultimate batch of amazing dry rub wings:Step 1: Preheat Your Oven and Prepare Your Baking Sheet
Preheat your oven to a robust 375°F (190°C). Line a large baking sheet with parchment paper. For an even crispier result, place a wire rack on top of the parchment paper – this elevates the wings, allowing air to circulate completely around them, preventing any soggy bottoms.
Step 2: Prep the Chicken Wings – Dryness is Key!
Thoroughly pat your chicken wings dry using paper towels. This step cannot be stressed enough; it’s crucial for achieving that glorious crisp. Place the dried wings into a large mixing bowl or a sturdy zip-top bag.
Step 3: Create and Apply the Flavorful Dry Rub
In a small bowl, combine the flour, brown sugar, smoked paprika, chili powder, garlic powder, onion powder, salt, and black pepper. Whisk these ingredients together until well blended. Sprinkle the entire dry rub mixture over the wings in the bowl or bag. Toss vigorously, ensuring every single wing is evenly coated. Don’t be afraid to get your hands in there to guarantee the rub adheres to every nook and cranny!
Step 4: Arrange for Maximum Crispiness
Carefully place the coated wings in a single layer on your prepared baking sheet (or wire rack). Make sure there is ample space between each wing. Overcrowding will lead to steaming, not crisping. Once arranged, lightly spritz the tops of the wings with olive oil spray. This fine mist will help them brown beautifully and contribute significantly to their ultimate crunch.
Step 5: Bake, Flip, and Achieve Golden Perfection
Bake the wings in your preheated oven for 20 minutes. After this initial bake, use tongs to carefully flip each wing over. Lightly spritz the other side with olive oil spray. Return the baking sheet to the oven and continue to bake for another 15-20 minutes, or until the wings are deeply golden brown and perfectly crispy. The exact timing can vary slightly depending on your oven and the size of your wings, so keep an eye on them towards the end. You're looking for a rich, inviting color and a firm, crispy texture.
Once done, remove the wings from the oven. For a final flourish, you can sprinkle them with a touch of fresh chopped parsley or cilantro, if desired. Serve immediately with your favorite dipping sauces and watch them vanish. This simple process makes creating Easy Crispy Dry Rub Wings: Oven-Baked Perfection for Any Occasion an absolute breeze!